PTB 311E
4-in-1 tablet hardness testing instrument now with password feature and width measurement
PTB 311E
4-in-1 Tablet Testing Instrument
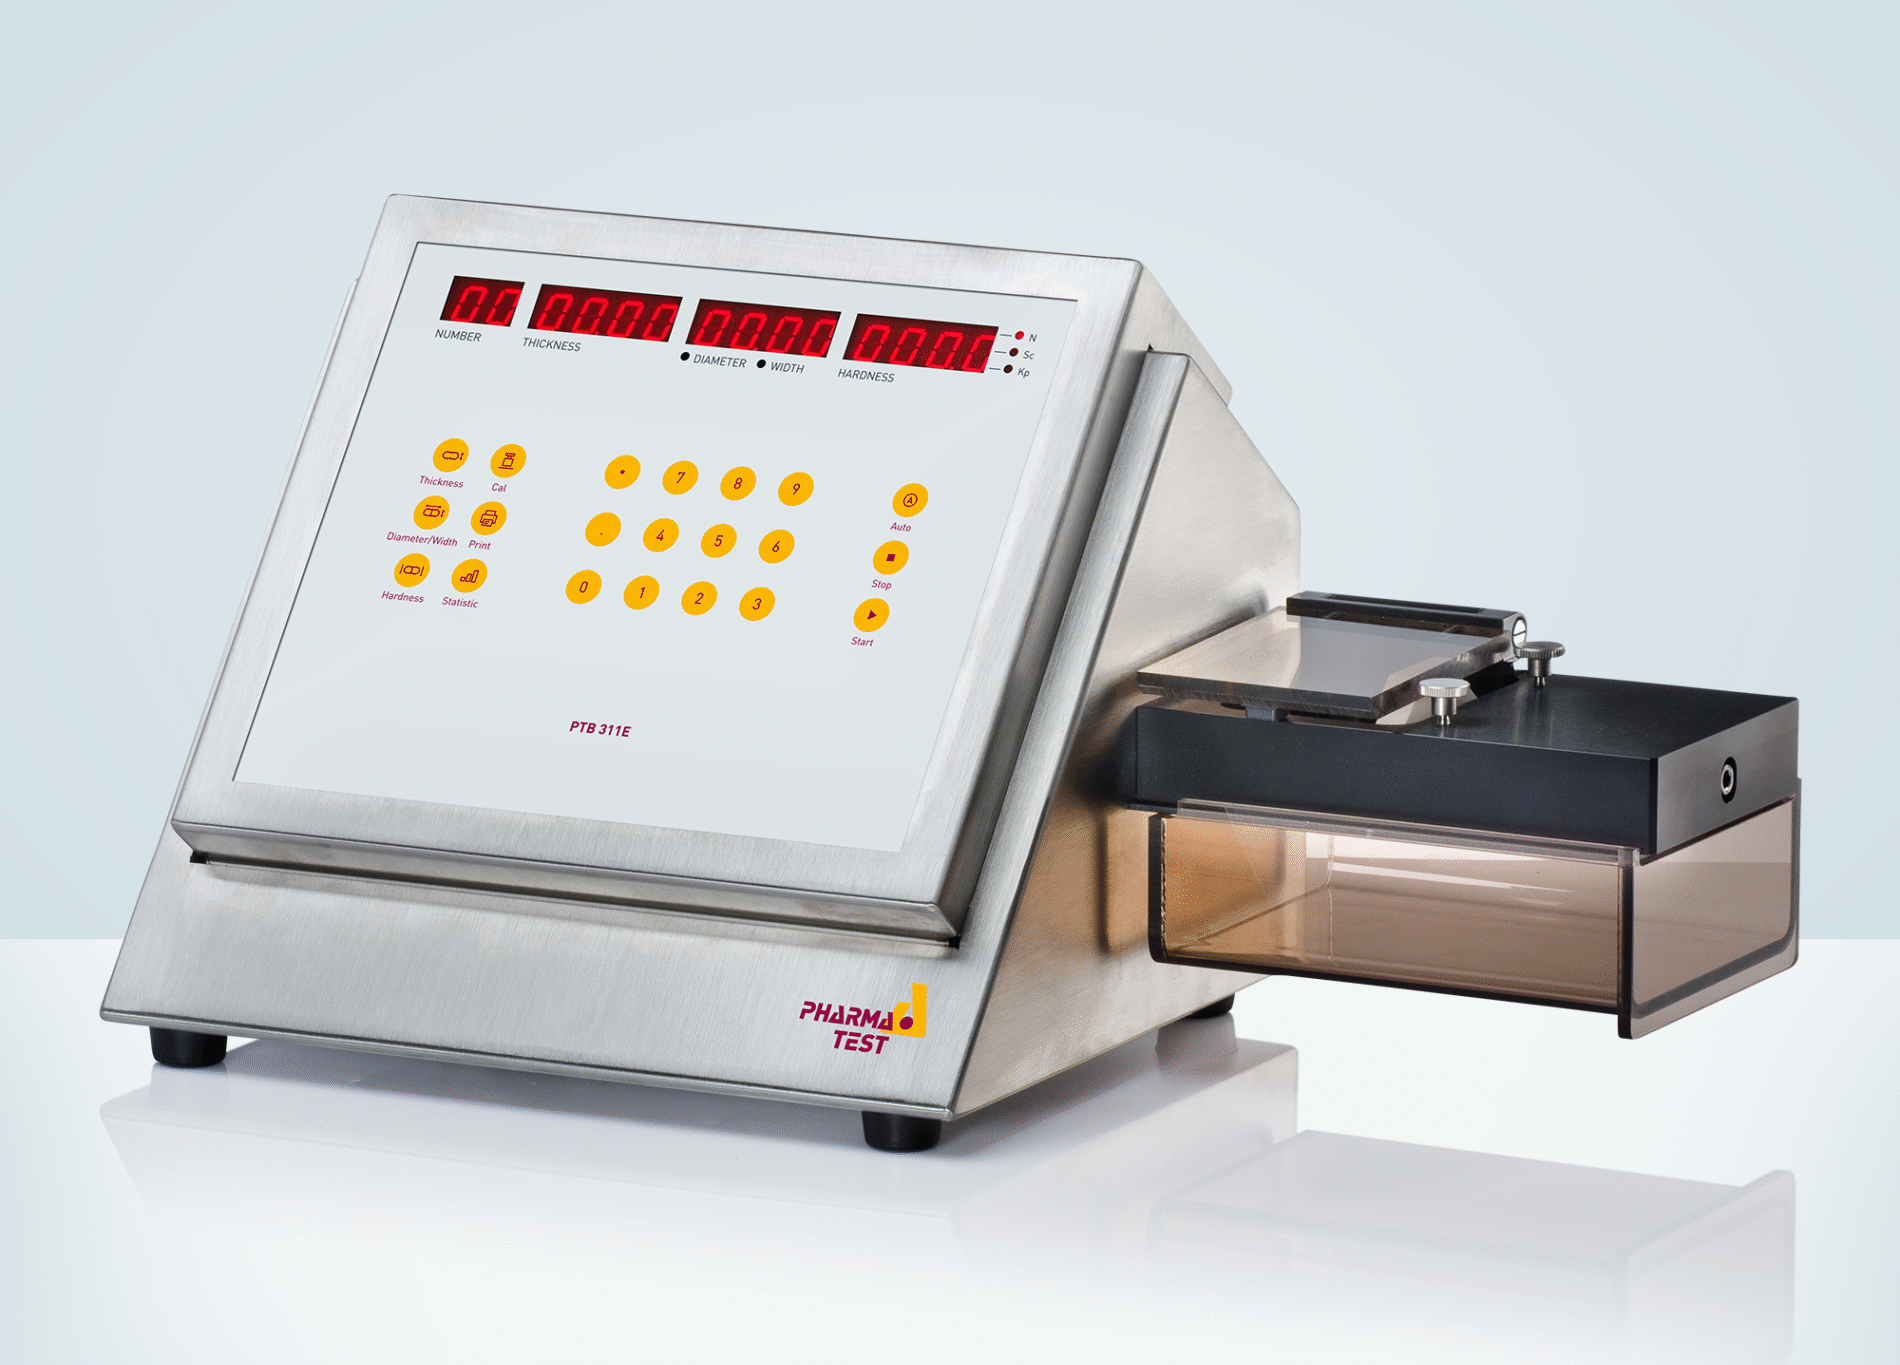
The tablet testing instrument PTB 311E is a dual force mode hardness tester. It can be used for either linear force or linear speed increase while tablet hardness is tested. It offers a multiple point validation procedure for the built-in digital load cell. The instrument is made in strict compliance with the EP <2.9.8> and USP <1217> Pharmacopoeia.
Test Procedure
Enter the nominal test information for thickness, width, diameter (length) and hardness as well as a batch number via the PTB 311E keyboard. Now place the sample upright into the testing station and start the test. The jaw will move forward, touch and force the tablet at its highest point to measure the thickness, then reverse back so that the sample falls into a horizontal position. To measure the width of an oblong just rotate the tablet by hand so that the long side aligns with the force sensor. The jaw will move forwards against the force sensor and thereby detect the width of the sample in between. The jaw then returns to its home position. Now the tablet is positioned orthogonally to the force sensor to test its diameter (or length), immediately followed by its hardness (or tablet breaking force). The units to measure can be selected between mm or Inch, KP (Kilopond), N (Newton) or Sc (Strong Cobb).
The four results are immediately displayed. Diameter and width share a button and a display. A red LED light will indicate which function is active, the display alternates between the values. Once the full series has been tested, a full print-out including each individual result, date, time, serial number of the instrument, batch number of the product tested, mean value and deviations of the test series can be printed via a connected PCL, ticket printer or dot-matrix printer.
In case you need to test hardness “only”, no problem; zero Thickness, Width and Diameter station and perform hardness tests only. For round tablets there is no need to enter any target value for width and this step and measurement can be skipped.
This flexibility and the reproducibility of the results have made the PTB 311E series a popular instrument and one of the bestselling tablet hardness testers worldwide.
Password Protected Settings
Important settings like date and time are now protected by a user definable password. This ensures that any important setting that could change the results or how the instrument operates is performed by an authorized user only. The calibration interval setting, and all measurement parameters are protected by password as well. Changing the force and length units, setting the speed mode, touch force and break detection as well as the test distance and fault force are now protected from access by a standard user to avoid making any changes by mistake. All adjustments need access via password, but performing a validation is still possible for every user. Also, any user can still perform their tests with the instrument and document the results by print-out. The serial output of results is locked behind the password and must be activated by an authorized user.
Operating Principle
Even in the existing USP and EP monographs there is no standard force setting or force increase mode established, but it is recommended to use a linear force increase rate of 20N/s. Different force settings usually cause problems when comparing results received by different supplier’s instruments when testing the same tablet. The hardness result is directly influenced by the contact speed and force increase rate.
Faster operated test jaw means lower reproducibility and often higher results. In order to offer the possibility to select an operating mode which will offer you similar results as the instruments you may already use, select the force mode, linear force increase or linear speed increase and select the same or similar rate. Also touch and detection force may be altered to suit the sample design specification. When the sample is touched the instrument switches to the selected mode and linear increasing rate.
Which Force Mode Should Be Selected?
For more than 18 years all Pharma Test hardness testing instruments offer the possibility to select either linear force or linear speed increase. Linear force increase is the recommended setting as it offers the most accurate control, as the rate of increase is directly controlled by the electronic load cell used to read the force. Also it is quite simple to validate the correct and linear operation as a tablet having a hardness of 100 Newton will be broken within 5 seconds if 20N/s had been set as force increase rate. The test of “soft” tablets often requires an increase of the standard force setting, otherwise the sample gets deformed only but does not break. Linear speed increase can also be used. Here the driving speed of the motor is kept linear. Actually if the touching force is kept low there is not too much difference in results between the two systems but it is very difficult to validate the linearity of the drive speed.
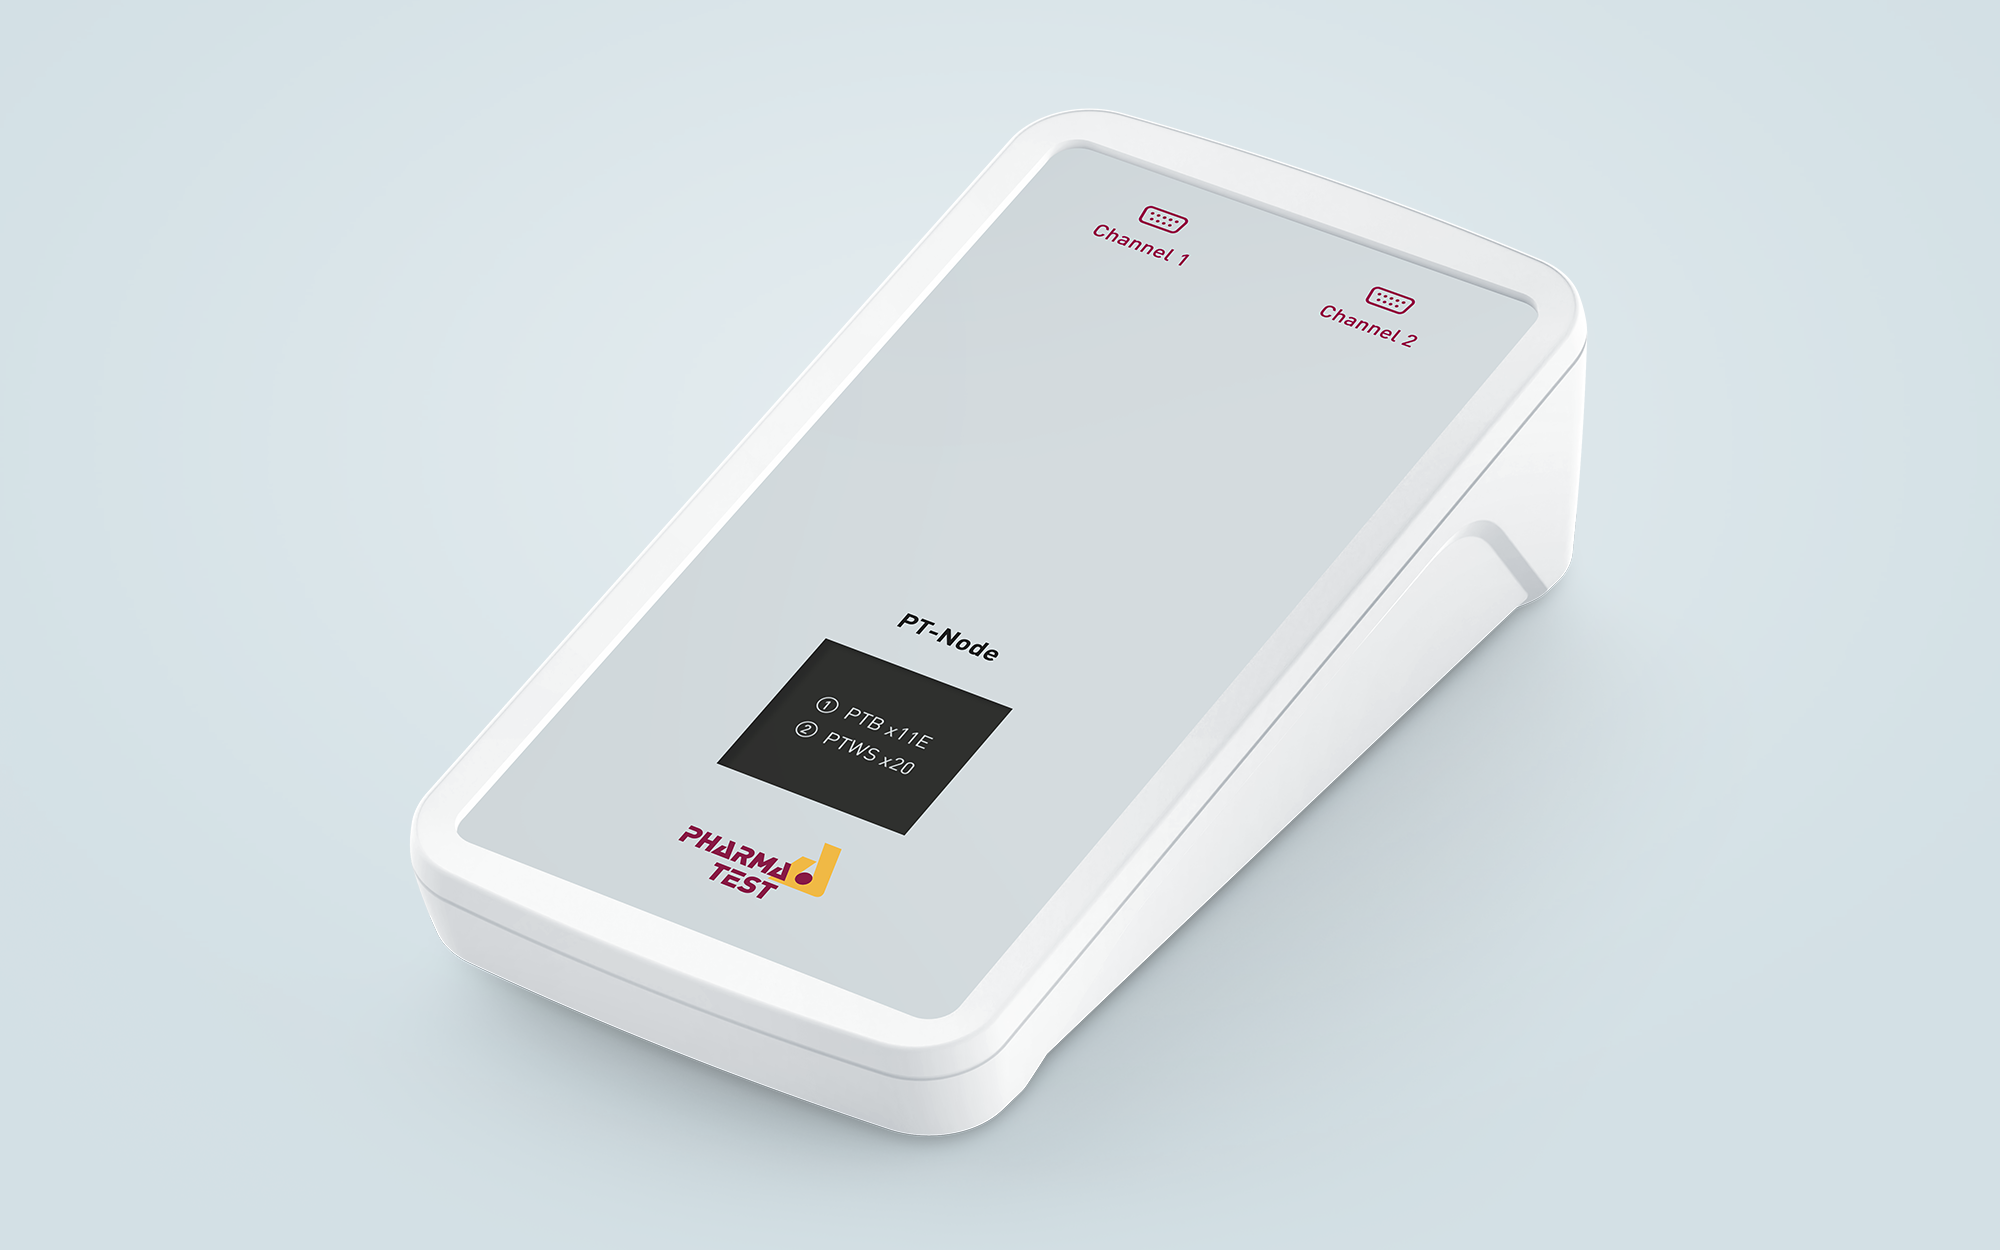
PT-Node Network Adapter for Printing and Data Transfer
PT-Node is an adapter that connects up to two Pharma Test instruments simultaneously to a network using a wired LAN connection. This way you can print test results from the instrument via your web browser on any local or network printer. Furthermore, it is possible to transfer the test results from the instruments to external systems in the same network. PT-Node supports PTB 311E.
Calibration and Validation
The current USP Pharmacopeia requires the force sensor of a tablet hardness testing instrument to be calibrated periodically over the complete measuring range (or the range used for measuring samples) with a precision of 1N. All Pharma Test tablet hardness testing instrument can be statically calibrated over the complete measuring range by the use of different traceable counterweights. All instruments support the checking of at least three different points during calibration to prove the linearity of the force sensor.
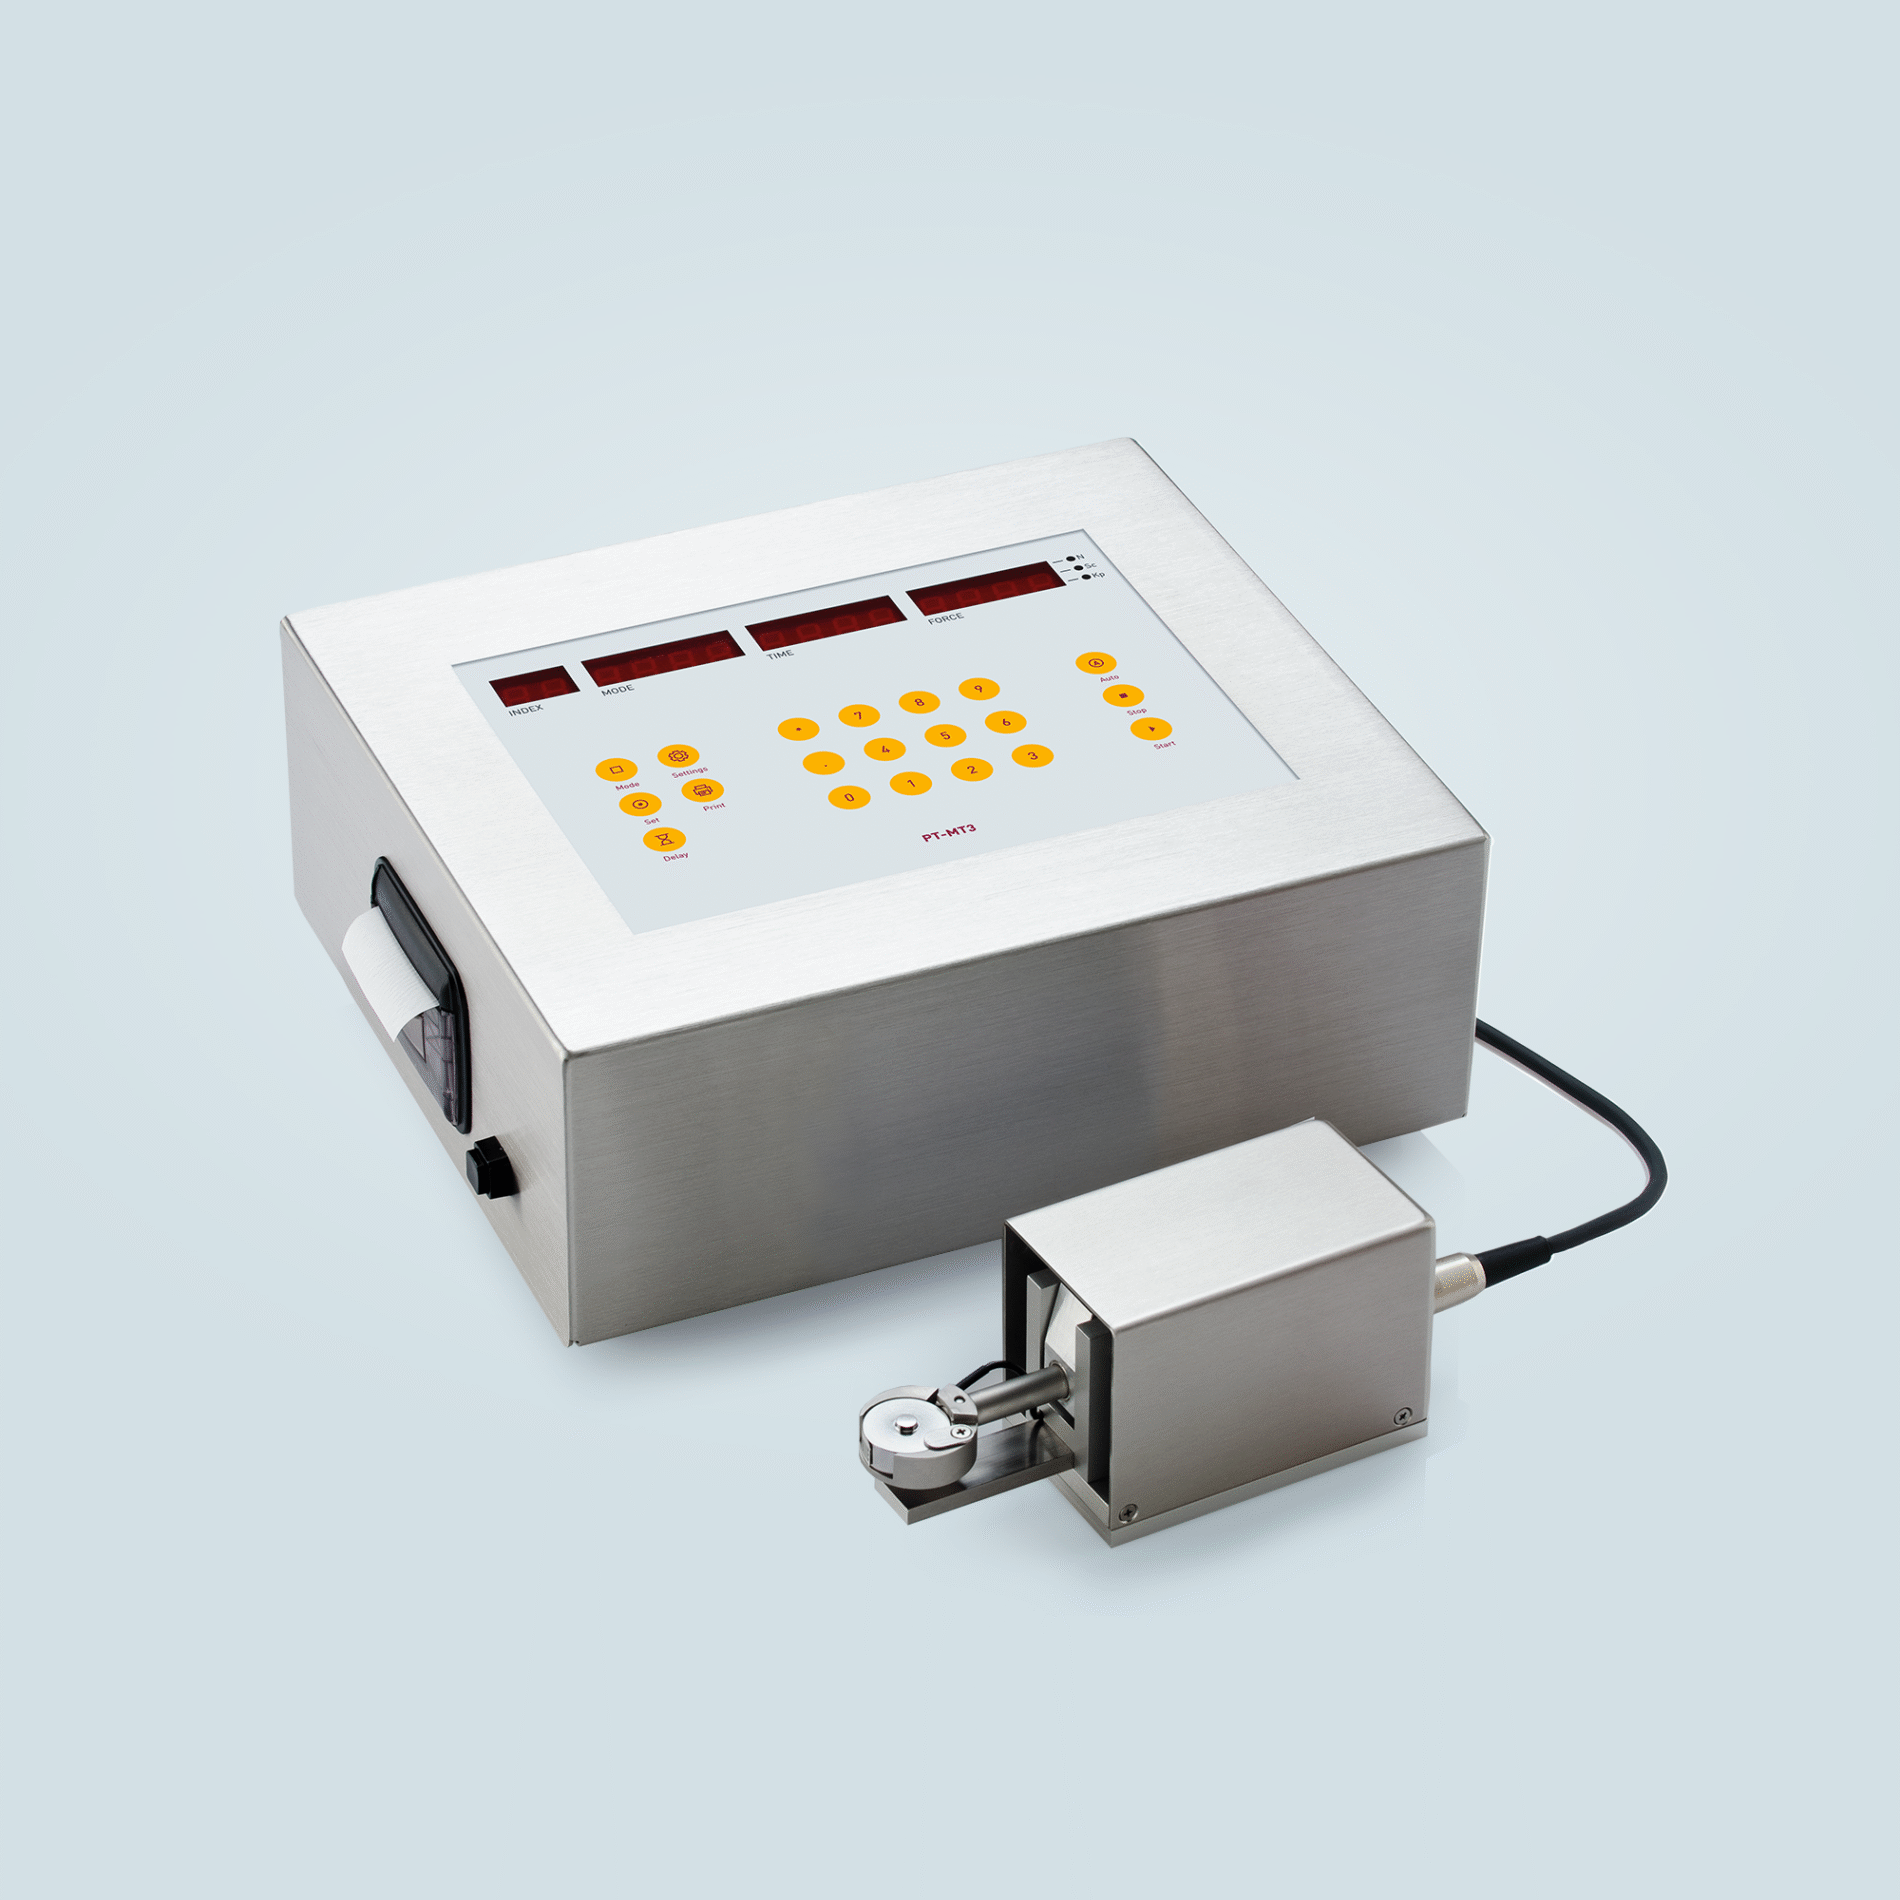
Magnetic Tablets
Furthermore, Pharma Test offers the PT-MT3 magnetic tablets to calibrate the breakpoint detection of the whole tablet hardness testing instrument (force sensor and mechanics of the instrument). All Pharma Test tablet hardness testing instruments are fully compliant to the requirements of the current USP Pharmacopeia. The PTB 311E/511E/311E-800 offers a built-in calibration and validation program for the hardness test station. To validate the hardness test station the PT-MT3 magnetic tablet or different certified weights are used. Use the PT-MT3 to qualify the correct breakpoint detection, the PT-MT3 instrument works like a tablet, it withstands force and after “breaks”.
For the thickness and diameter station, certified reference blocks are used for both calibration and adjustment. Weight sets are used to calibrate and adjust the force sensor (load cell) of the instrument over the complete measuring range. For the two point adjustment (zero and reference) of the load cell inside the hardness station a certified reference weight of 10 kg is used. For validation purposes the use 5 up to 30kg certified weights is recommended. All adjustment and calibration results can be printed and countersigned.
To prove the linearity of the instrument, the operator can program a print-out of the force curve recorded during a test. This will show the linear increase of the adjusted force mode. Also different weights, like the PTB-CAL15 and PTB-CAL30 weight sets which include 5, 10, 15kg and 30kg (PTB-CAL30) using two additional 10kg weights for total 50kg, may be placed onto the load cell or the PT-MT and can be used to validate the linearity. Using the parallel port a Matrix or PCL5 printer can be added and using the RS232 COM port, all results can be transmitted to software running on a computer system.
Features
- Fully USP <1217> and EP <2.9.8> compliant
- Measure hardness, diameter (or length), width and thickness of tablets
- De-activate any measurement not required for a particular test
- Dual force mode instrument with linear speed increase and linear force increase modes
- Multiple point validation procedure built-in
- Programmable print-out of force increase curve
- Set to test tension strength of oblongs and caplets available
Advantages
- Select either linear force or linear speed increase (dual mode selection)
- Stepless adjustment of the force or speed increasing rate
- Entry of time and date password protected
- Enter a 12-digit batch number
- Automatic re-start facility to speed up the testing sequence
- Documentation of all results using a separate PCL or dot-matrix printer
- Validation and calibration program for the measurement station
- Dual point adjustment of the load cell for the hardness test station
- Multiple point validation (calibration) up to 30 or 50kg
- Programmable print-out of force increase curve
- Data transfer via RS-232 interface
- Hardness testing in compliance with the EP <2.9.8> and USP <1217> Pharmacopoeia
- Test program for soft gelatin capsule testing by setting up a testing distance
Technical Specifications
| Parameter | Specification |
| Hardness testing range | PTB 311E: 5.0 – 300.0 N ± 10 N
PTB 311E-500: 10.0 – 500.0 N ± 50 N PTB 311E-800: 10.0 – 800.0 N ± 50 N |
| Hardness accuracy | Better than ±1 N |
| Hardness resolution | 0.1 N |
| Thickness testing range | 2.00 – 45.00 mm |
| Thickness accuracy | Better than ±0.05 mm |
| Width testing range | 2.00 – 45.00 mm |
| Width accuracy | Better than ±0.05 mm |
| Diameter testing range | 2.00 – 45.00 mm |
| Diameter accuracy | Better than ±0.05 mm |
| Thickness, width & diameter resolution | 0.01 mm |
| Measuring units | Thickness, width and diameter selectable between millimeter (mm) and inches (IN);
Hardness selectable between Newton (N), Kilopond (kp) and Strong Cobb (Sc) |
| Force Mode | Selectable: linear force increase or linear speed increase |
| Force Rate | PTB 311E and PTB 311E-500: 5 – 200 N/sec. (linear force increase); PTB 311E-800: 10 – 200 N/sec. (linear force increase) or 5 – 200mm/Min. (linear speed increase) |
| Number of tests for statistics | Up to 250 |
| Display | LED display for No. of samples, thickness, diameter/width and hardness results |
| Keyboard | Numerical and function keys |
| Interface | RS232 serial port to connect a PC or Epson TM-U220B ticket printer, parallel port for A4 printer connection |
| Instrument housing | Stainless steel (304) to meet GLP requirements |
| Power | 115 Volt AC or 230 Volt AC, 50/60 Hz |
| Current consumption | 0,15 A at 230 V; 0,30 A at 115 V; 35 W |
| Main fuse | 2 x T1,0 A |
| Installation requirements | Ambient Temperature 15-35 °C
Relative Humidity 15-80 %rH Desk with at least 50 kg working load. All around the instrument at least 10 cm free distance to walls or other equipment. Free access to the mains power plug and switch. |
| Instrument dimensions | Approx. 260 x 500 x 260 mm (Length x Width x Height) |
| Packaging dimensions | Approx. 310 x 660 x 420 mm (Length x Width x Height) |
| Net / gross weight | Approx. 9,5 kg / 12,5 kg (without optional accessories) |
| Certification | All components certified to USP / EP requirements |
| CE / EMC certification | All CE / EMC Certification provided |
| Validation | All IQ & OQ documents included |
We reserve the right to make technical changes without any prior notice.
Included in the Standard Scope of Supply
The PTB 311E comes ready to use with the following standard scope of supply:
- Standard Jaw set to allow hardness test of all size and shape samples
- Broken Sample collector
- Comprehensive documentation folder including:
- User manual
- QC/DQ testing certificate
- IQ documentation
- OQ documentation
- Conformity Declaration
- CE/EMC Declaration
- Instrument logbook
Options
In addition to the standard scope of supply Pharma Test offers a broad range of accessories and options including:
- 500N (PTB 311E-500) and 800N (PTB 311E-800) extended force range
- Thickness (height) test jaws (one test jaw set size 2 is included in the instrument’s standard scope of supply), available in different sizes
- Sample holder to test tension strength of oblongs and caplets at their break line, available in different sizes
- Instrument variant with extended measurement range up to 70mm sample length
- Recommended spare part set
- Full range of certified validation tools available
Request for Quotation


