PTB 500
5-in-1 Semi-Automated Tablet Testing System with Integrated Balance
PTB 500
Semi-Automated Tablet Testing System with Integrated Balance
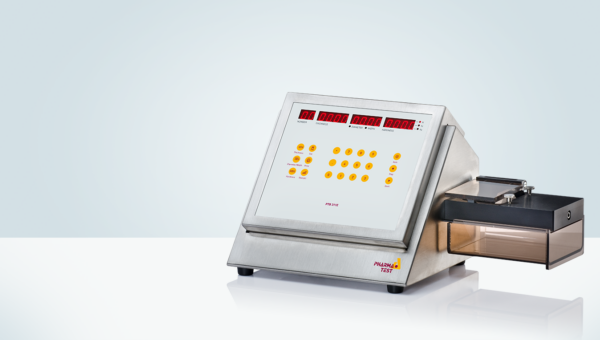
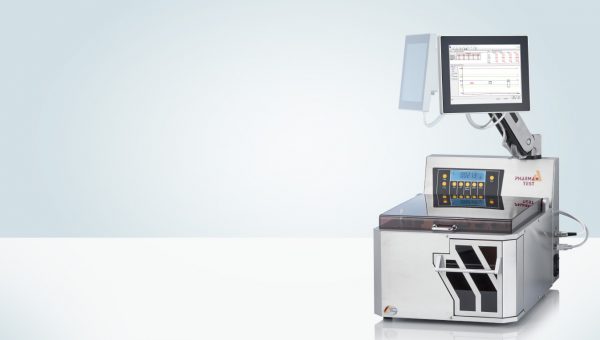
The semi-automated tablet testing system PTB 500 is a dual test mode instrument to measure five different parameters of one sample. Hardness, diameter (or length), thickness, width and the weight of tablets can be determined here. The instrument features an integrated analytical balance (PTB 500+) or a connection for an external balance (PTB 500) and a sample carousel. The instrument is made in strict compliance with the EP <2.9.8> and USP <1217> Pharmacopoeia.
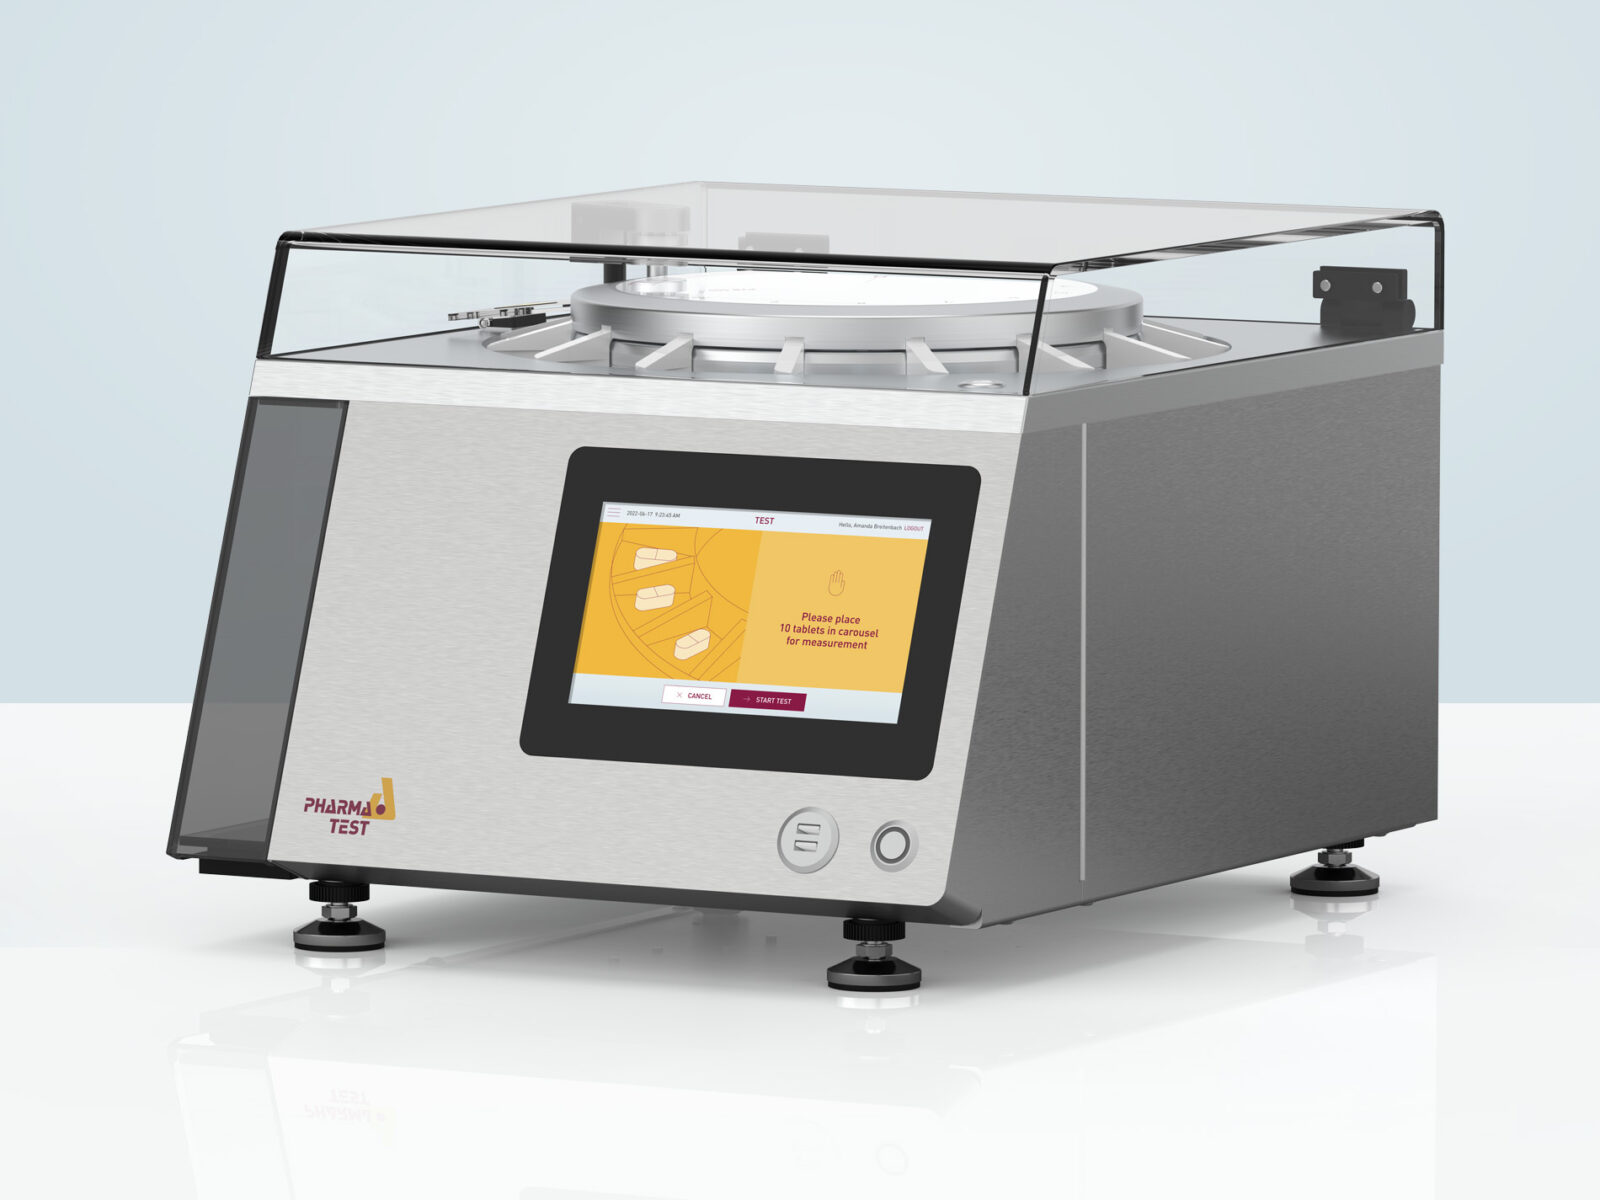
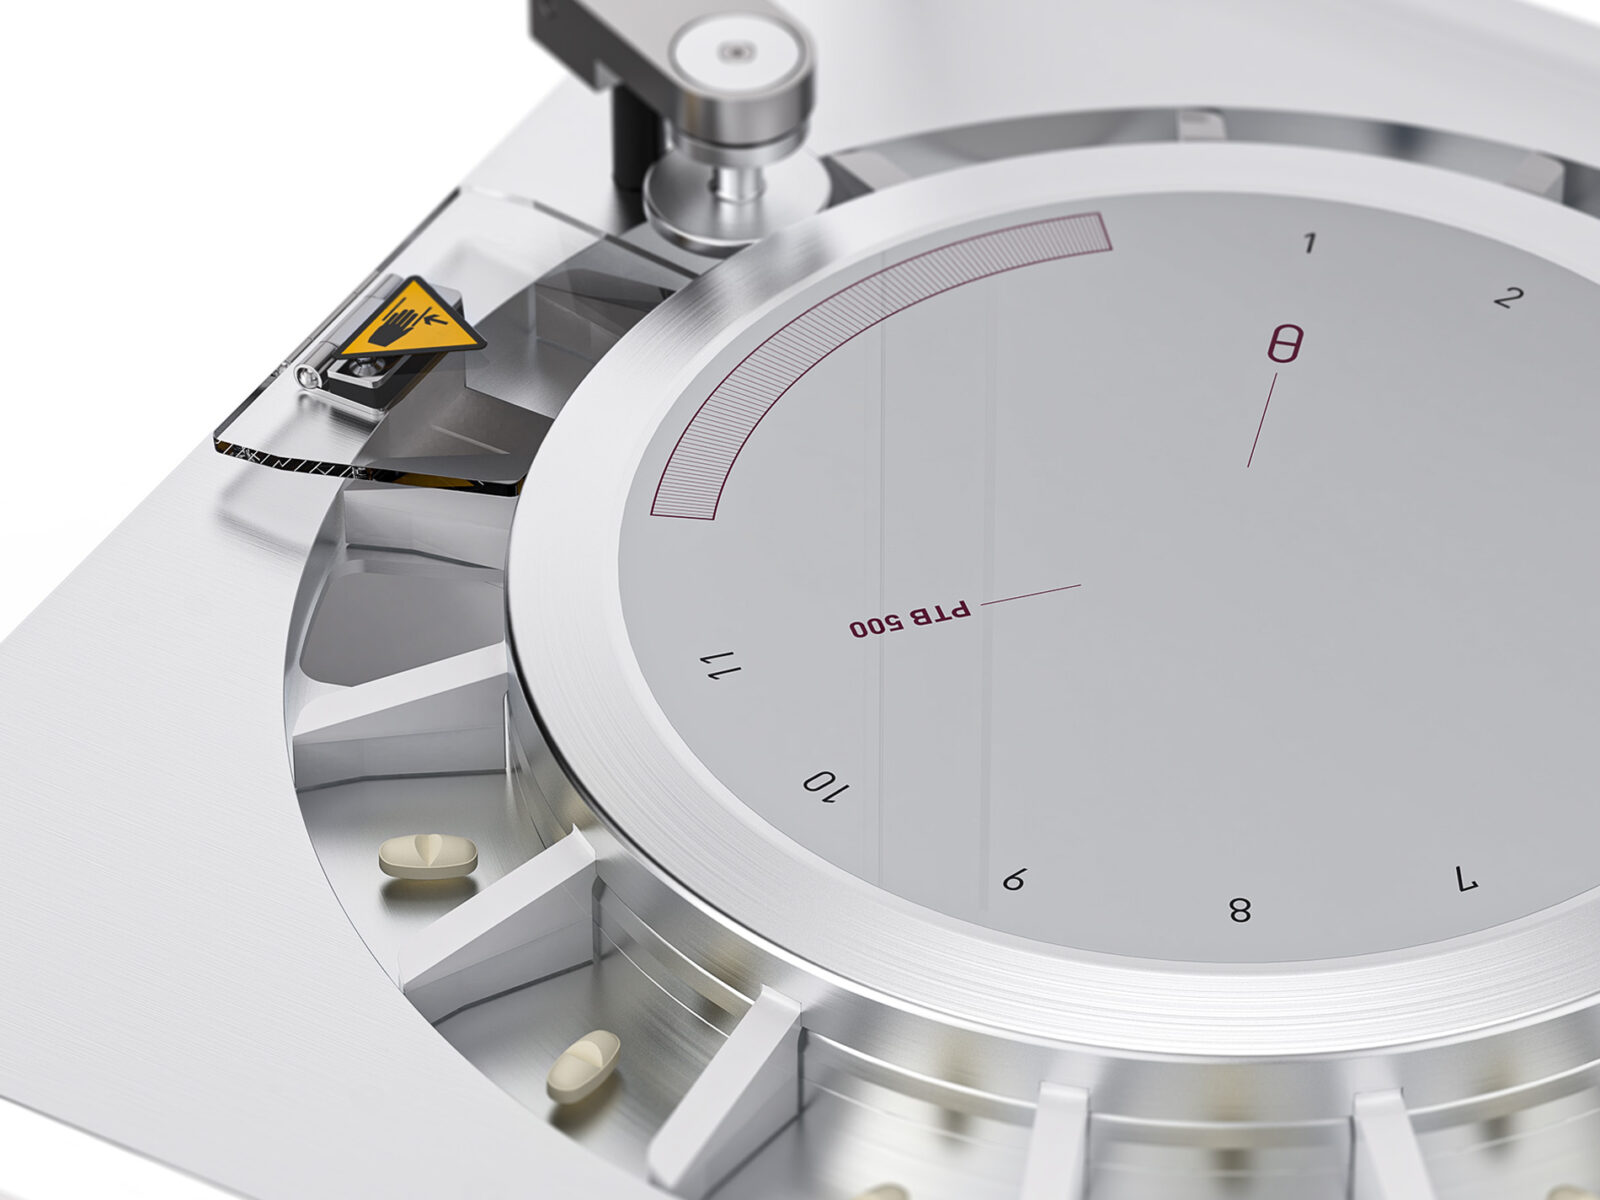
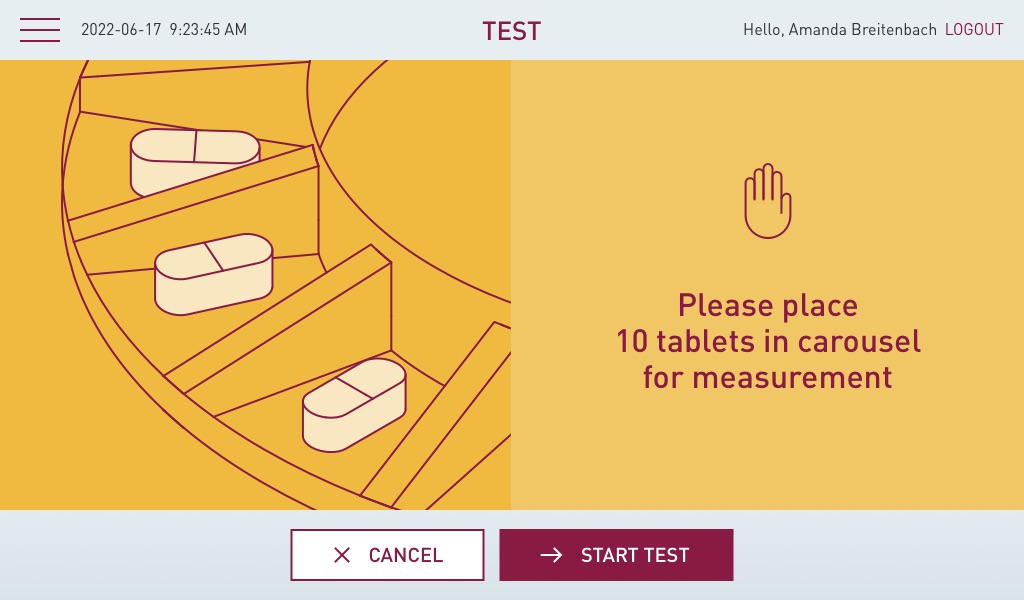
The PTB 500 Semi-Automated Tablet Testing System with Integrated Balance and an effecient tablet carousel with space for 11 samples
PTB 500 features a carousel to transport the samples between the weight, thickness and combined width, diameter (or length) and the hardness testing station. PTB 500+ features and integrated Sartorius analytical balance to measure the weight of the individual samples. The base model PTB 500 features a connection for an external balance. The measuring units can be selected from mm or Inch and KP (Kilopond), N (Newton) or Sc (Strong Cobb).
Running a Test
PTB 500 features a large, back-lit colour LCD. Navigate the menu using the touch screen or connect a standard keyboard and mouse. There are two ways to start a test with PTB 500 – start a quick test immediately after powering on the instrument without logging on or login to start a method-based test.
The samples are automatically transported to the test stations by the rotating carousel. First the weight is measured by the integrated Sartorius analytical balance. Then the thickness is measured and third comes the combined diameter (or length) and hardness testing station. It is also possible measure the width of the sample. In this case the operator is prompted to position the sample accordingly in the test station. Now for the diameter (or length) and hardness measurement the force jaw will move forward, touch the tablet at its highest point to measure the diameter and immediately its hardness (tablet breaking force). Finally, the broken sample is discarded into the waste container.
Test Results
When printing via either a printer directly connected by USB or a network printer three options are available: print the data including each individual result as well as product information, date, time, user, instrument serial number, statistics can be added to this information of just print the breaking curve of the last broken tablet. It is always possible to activate or de-activate separate testing stations. This way it is possible to just test the hardness of a tablet without measuring any other parameters. For this, deactivate the other parameters like thickness by leaving the field for the nominal value and number of samples empty.
The on-screen menu will lead the user through the test at all times. The five results are immediately displayed and can be printed directly or transferred to a LIMS system. The results are saved to the internal database of the instrument and can be always reviewed. When printing via either a printer directly connected by USB or a network printer three options are available: print the data including each individual result as well as product information, date, time, user, instrument serial number, statistics can be added to this information of just print the breaking curve of the last broken tablet.

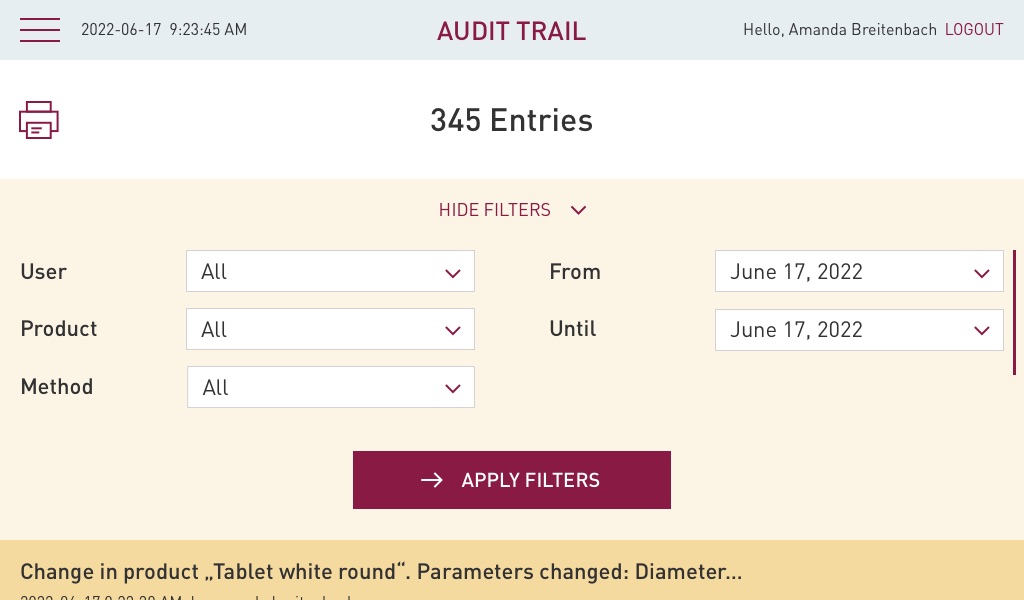
PTB 500 features and audit trail that records all events according to 21 CFR Part 11 requirements. The events can be displayed on the instrument itself and be printed for examples as PDF for documentation purposes. The events of the audit trail can be filtered by user, product, method and date of the event. For each event a detailed description is available with mention of the related user, method and product and which value has been changed from what to what.
Operating Principle
Faster operated test jaw means lower reproducibility and often higher results. In order to offer the possibility to select an operating mode which will offer you similar results as the instruments you may already use, select the force mode, linear force increase or linear speed increase and select the same or similar rate. Also touch and detection force may be altered to suit the sample design specification. When the sample is touched the instrument switches to the selected mode and linear increasing rate. The instrument offers also the option to test capsules with the help of a special procedure, which allows the instrument to just touch the sample, compressing, but without breaking it.
Calibration and Validation
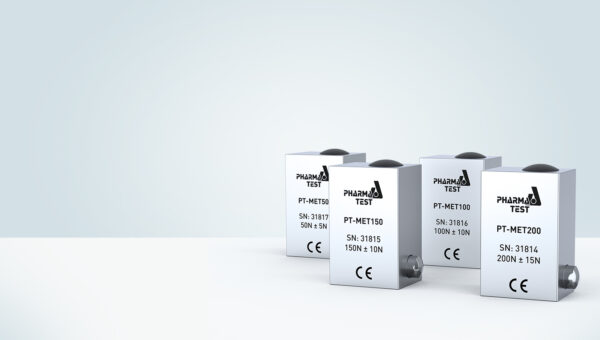
The current USP Pharmacopeia requires the force sensor of a tablet hardness testing instrument to be calibrated periodically over the complete measuring range (or the range used for measuring samples) with a precision of 1N. All Pharma Test tablet hardness testing instrument can be statically calibrated over the complete measuring range using different traceable counterweights. All instruments support the checking of at least three different points during calibration to prove the linearity of the force sensor.
Features
- Tablet hardness testing in full compliance to USP <1217> and EP <2.9.8> Pharmacopeia
- 5 results of the same sample: thickness, width, diameter (length), hardness and weight (PTB 500+ internal, PTB 500 via connected external analytical balance)
- Dual force mode instrument with linear speed increase and linear force increases modes
- Statistical calculations of mean value, absolute and relative standard deviations, minimum and maximum result
- Networking capabilities
- Multiple point validation procedure built-in
- Programmable print-out of force increase curve
- Graphical user interface with clear operator instructions
Advantages
- Select either linear force or linear speed increase (dual mode selection)
- Stepless adjustment of the force or speed increasing rate
- Sophisticated user management and method management
- Result database and audit trail
- Secure passwords with password rules
- Time and date display and print-out
- Test start functionality to start testing with minimal preparation
- Directly connectable to LIMS or other network options
- Serial data transfer via RS-232 interface
- Validation and calibration program for the measurement stations
- Dual point adjustment of the load cell for the hardness test station
- Multiple point validation (calibration) up to 30 or 50kg
- Programmable print-out of force increase curve
- Test program for soft gelatin capsule testing by setting up a testing distance
Technical Specifications
| Parameter | Specification |
| Number of testing stations | 5 (Hardness, Thickness, Width, Diameter/Length, Weight |
| Hardness testing range | PTB 500: 2.0 – 300.0 N ± 10 N PTB 500-500: 5.0 – 500.0 N ± 50 N PTB 500-1000: 10.0 – 1,000.0 N ± 50 N |
| Hardness accuracy | Better than 1N |
| Hardness resolution | 0.1N |
| Thickness testing range | 2.00 – 20.00 mm |
| Thickness accuracy | Better than ±0.02 mm |
| Width & diameter testing range | 2.00 – 32.00 mm |
| Width & diameter accuracy | Better than ±0.02 mm |
| Thickness, width & diameter resolution | 0.01mm |
| Weight measurement | By internal Sartorius balance cell |
| Weight testing range | 0.0001g – 200.0000g |
| Weight accuracy | 0.1mg |
| Measuring units | Thickness, diameter and width selectable between millimeter (mm) and inches (IN); Hardness selectable between Newton (N), Kilopond (kp) and Strong Cobb (Sc) |
| Force mode | Selectable: linear force increases or linear speed increase |
| Force rate | 5 – 250 N/sec. (linear force increase); 5 – 250mm/Min. (linear speed increase) |
| Display | 7”, high resolution color LCD, backlit |
| Data entry | Touch screen, USB keyboard and/or mouse supported |
| Instrument firmware compliance | 21 CFR Part 11 compliant user management and result database, electronic signatures, integrated audit trail |
| Method storage | Integrated database |
| User management | Integrated database |
| Result storage | Integrated database |
| Interface | USB, LAN |
| Printer | Built-in thermal printer (optional), connect standard USB or LAN printers |
| Instrument Housing | Stainless steel (304) to meet GLP requirements |
| Power | 115/230 Volt AC, 50/60 Hz |
| Installation Requirements | Ambient Temperature 15-35 °C
Relative Humidity 15-80 %rH Desk with at least 50 kg working load. All around the instrument at least 10 cm free distance to walls or other equipment. Free access to the mains power plug and switch. |
| Instrument Dimensions | Approx. 500 x 500 x 400 mm (Length x Width x Height) |
| Packaging Dimensions | Approx. 650 x 660 x 440 mm (Length x Width x Height) |
| Net / Gross Weight | Approx. 25 kg / 30 kg (without optional accessories) |
| Certification | All components certified to USP / EP requirements |
| CE / EMC Certification | All CE / EMC Certification provided |
| Validation | All IQ & OQ documents included |
We reserve the right to make technical changes without any prior notice.
Included in the Standard Scope of Supply
The PTB 500 comes ready to use with the following standard scope of supply:
- Broken sample collector
- Comprehensive documentation folder including:
- User manual
- QC/DQ testing certificate
- IQ documentation
- OQ documentation
- Conformity Declaration
- CE/EMC Declaration
- Instrument logbook
Options
In addition to the standard scope of supply Pharma Test offers a broad range of accessories and options including:
» 500N (PTB 500-500) and 1,000N (PTB 500-1000) extended force range
» Recommended spare part set
» Full range of certified validation tools available
» Different splints for tablet guidance in test station via exchangeable bottom plates
Request for Quotation
Related Products

PT-MT3
PT-MT3 magnetic tablet for dynamic calibration and periodical qualification of tablet hardness testing instruments
View product


