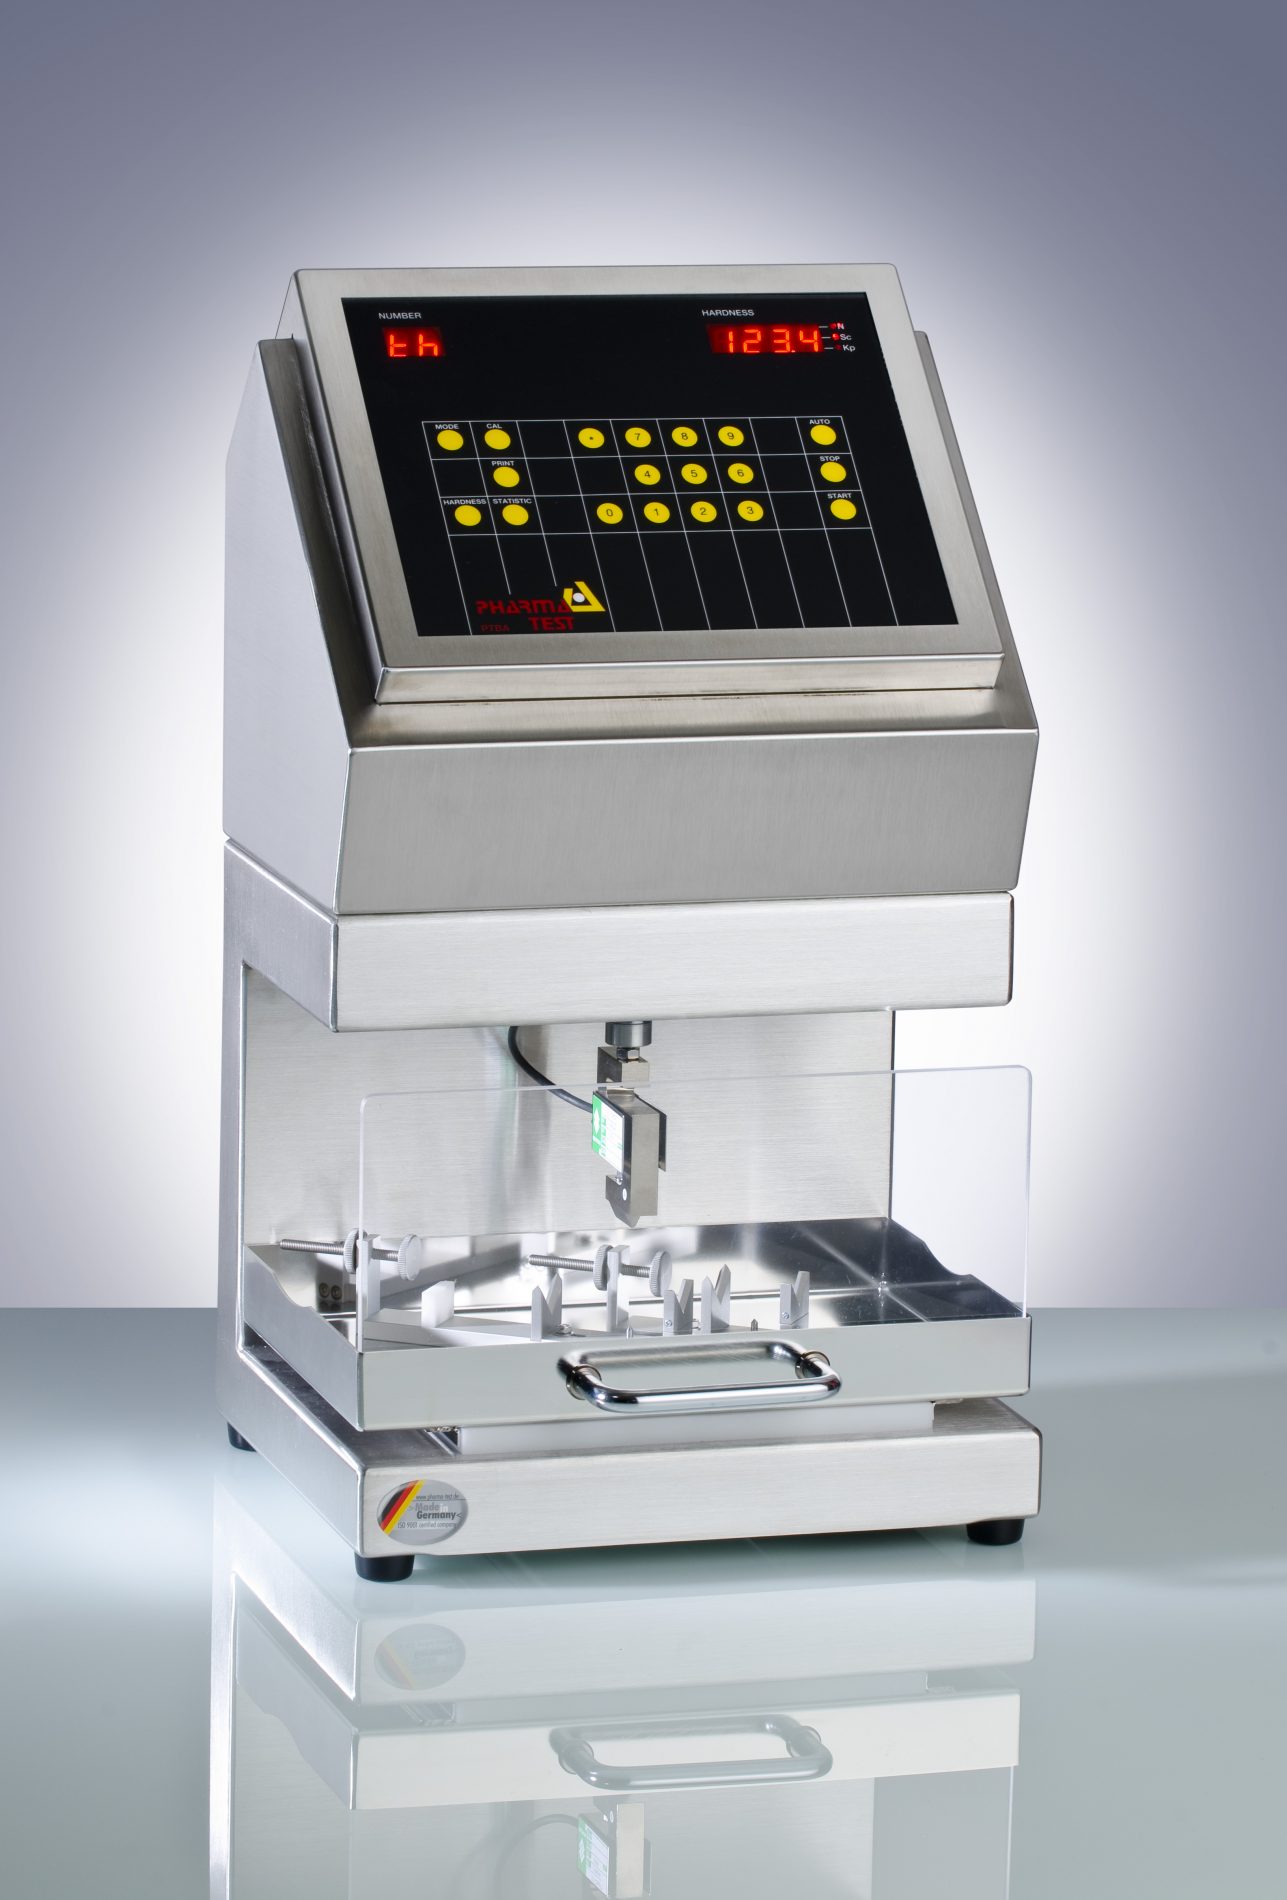
PTBA 211E
PTBA 211E ampoule breakpoint tester to control the quality during production of empty ampoules
PTBA 211E
Ampoule Breakpoint Tester
The PTBA 211E ampoule breakpoint tester is designed and manufactured in compliance to the DIN EN ISO <9187-1/2:2010> standard. According to this standard the break point of ampoules has to be tested to control the quality during production of empty ampoules and prior to the filling process.
Print-Out Results
The result is immediately displayed and printed to a connected laser printer (PCL5 capable) or a dot-matrix printer. Repeat this until your series has been tested, get a full print-out including each individual result, date, time, serial number of the instrument, batch number of the product tested, mean value and deviations of the test series.
Operating Principle
The testing jaw is moved by means of a stepper motor into the neck of the ampoule to be tested. The ampoule is placed onto a DIN/ISO compliant support. As soon as the jaw meets the ampoule the instrument increases the force in a linear speed mode until the sample breaks, the usual force rate is 10 mm/min. As soon as the ampoule is broken, the maximum force will be displayed and printed. The test jaw moves back to the home position ready for the next test. As the operator can enter an automatic re-start time, the next test will be performed immediately after a new sample has been placed onto the ampoule support.
A movable tray holds the ampoule support; a Plexiglas (Perspex) screen protects the operator. A built-in lamp illuminates the handling area to ease the correct positioning of the ampoule at the support. Exchangeable ampoule supports allow the test of all kinds of ampoules from 1-30ml.
Features
- Dual force mode instrument with linear speed increase and linear force increase modes
- Multiple point validation procedure built-in
- Programmable print-out of force increase curve
Advantages
- Breakpoint testing of empty ampoules in compliance with the DIN EN ISO <9187-1/2:2010>
- Force standard setting: linear speed increase 10mm/min. (adjustable)
- Automatic re-start facility to speed up the testing sequence
- Entry of time and date
- Enter a 12 digit batch number
- Documentation of all results using a separate PCL5 or dot-matrix printer
- Programmable print-out of force increase curve
- Data transfer via RS-232 interface
- Validation and calibration program for the measurement station
- Dual point adjustment of the load cell for the hardness test station
- Multiple point validation (calibration)
Technical Specifications
| Parameter | Specification |
| Display | LED Display showing number of tests and breakpoint result |
| Data Entry | Numerical and Functional keys |
| Standard Force Range | 5.0 to approximately 300N (optional 500N) |
| Accuracy | < 1N |
| Resolution | 0.074N (300N model) – 0.1482N (500N model) |
| Force Settings | Linear speed or linear force increase (standard setting: linear speed 10mm/Min) |
| Selectable Range | 4.0 – 200 Millimeter/Minute or 5.0 – 200 N/Second |
| Accuracy | < 2% force or < 0.1% speed |
| Printer | Parallel Interface to connect Dot-Matrix or PCL 5 Printer |
| Interface | RS232 COM port |
| Calibrations | Multiple point for load cell precision using certified weights (PT-CAL15/30 and PT-CAL 50) |
| Calibration Guidance | Built-in calibration procedures the digital load cell |
| Adjustments | Two point adjustment – zero and 10kg |
| Force Detection Reproducibility | PT-MT3 Magnetic Tablet and suitable support |
| Instrument Housing | Stainless Steel (312) to meet GLP requirements |
| Bench Space Requirement | L 30cm x W 30cm x H 48cm (without external printer ) |
| Certification | All components certified to DIN EN ISO requirements |
| CE / EMC Certification | All CE / EMC Certification provided |
| Validation | All IQ & OQ documents included |
We reserve the right to make technical changes without any prior notice.
Included in the Standard Scope of Supply
- Standard Jaw set to allow breakpoint test of all size of ampoules up to 30ml
- Broken Sample collector and protection shield
- Comprehensive documentation folder including:
- User manual
- QC/DQ testing certificate
- IQ documentation
- OQ documentation
- Conformity Declaration
- CE/EMC Declaration
- Instrument logbook
Options
- 500N (PTBA 211E-500) extended force range
- Dot-Matrix or PCL5 Laser Printer
- PTBA32 PC software package for instrument control and data handling
- Recommended spare part set
- Full range of certified validation tools available

